Gogeta ゴジータ

DRAGON BALL ドラゴンボル

Project Date: October 2020    Photo Credits: viiilicous

Gogeta is the resulting Fusion of the two main characters Goku and Vegeta from the popular series Dragon Ball by Akira Toriyama. He is considered one of strongest, if not the strongest character in the entire Dragon Ball Universe. As a fusion of Vegeta and Goku, he retains Goku’s tall physique and Vegta’s stern facial features. Unlike his Potara Fusion counterpart Vegito, he remains practical and efficient while fighting his opponents. He is confident and doesn’t show mercy once he determined a foe to be a threat. 

I choose this costume right after I started to get into Dragon Ball. I had an extra month of free time, so I choose a challengin project. The whole costume took 2 weeks to finish. The muscle suit involved 2 full days of hand sewing the seperate muscles. To save some time while doing the Make Up, I made the distinctive Dragon Ball eyebrow shape into a prosthetic. They just take a few seconds to apply!

You can read more about this project down below. Thanks for checking out this Cosplay write up. Need tutorials and patterns? Check out this link.

How I Designed GOGETA

Before I started building the Cosplay, I decided I will add my own style and twists to this Cosplay. So I started by redesigning the original Gogeta visual art.

 I researched traditional Martial Arts clothes came up with the idea to use hardshell guards on the arms and legs. I ended up not using that idea. Instead I designed arm wrappers out of different kinds of fabric. 

The inspiration from the belt comes from the Marvels first Dr. Strange movie. I really enjoy the costume design in that movie and I’m happy I could use it as an inspiration.

Instead of using different fabrics for the pants, I decided to keep them simple and decorate them with studs and fabric lines. The japanese Kanji on the pants spell 大猿 (oozaru) which literally translates to Great Monkey. A reference the Sayajin origins. 

The vest in the original artwork is a very simple piece of clothes. I designed a pattern with different kind of fabrics and studs and added the Galatic Patrol logo in the front. In my final Cosplay I added a big print of Shenron on the back instead of the Patrols logo. 

For the wig I decided to use his widow peaks from the Dragon Ball Super: Broly movie. His peaks in the older appearences are very high up and would have ended up looking hilarious. 

2

How i made gogeta

This is always a big point. How do I start a Cosplay? This time I started this costume with the application on the back of the vest. Originally I planned to draw Shenron myself, but I ended up editing an artwork in Illustrator. I created two separate files: One for the outlines and one for the shading. I plotted both files on white and black heat transfer foil. For the base of the patch, I choose light brown fake velour leather. First, I transfered the white foil and the black outlines on top. To give it a bit more stiffness, I glues the whole patch on some heavy cotton fabric and finally cut out the patch. 

For the next step I needed a tape dummy of myself. I made this tape dummy while wearing a corset and a binder. I made the bodysuit with the intent to wear binder and corset underneath to get a slim waist. It’s very uncomfortable to wear a corest under a muscle suit, so I really would not recommend doing this for your own costume. 

I started the muscle suit by sewing simple shirt with a zipper on the back. It need to fit perfectly around your own body or otherwise you will lose some shape later. Put the sewn shirt on your dummy and start to make your pattern on the bodysuit. You can draw directly on your shirt or you put on some tape on the muscle you want to outline in the next step. For a more realistic muscle suit, you should study some anatomy pictures first. But if you want Dragon Ball specific muscles, you can get my full pattern here. Check out the pictures down below for the process of making a muscle suit! When you are happy with the overall shape of the suit, we start skinning!

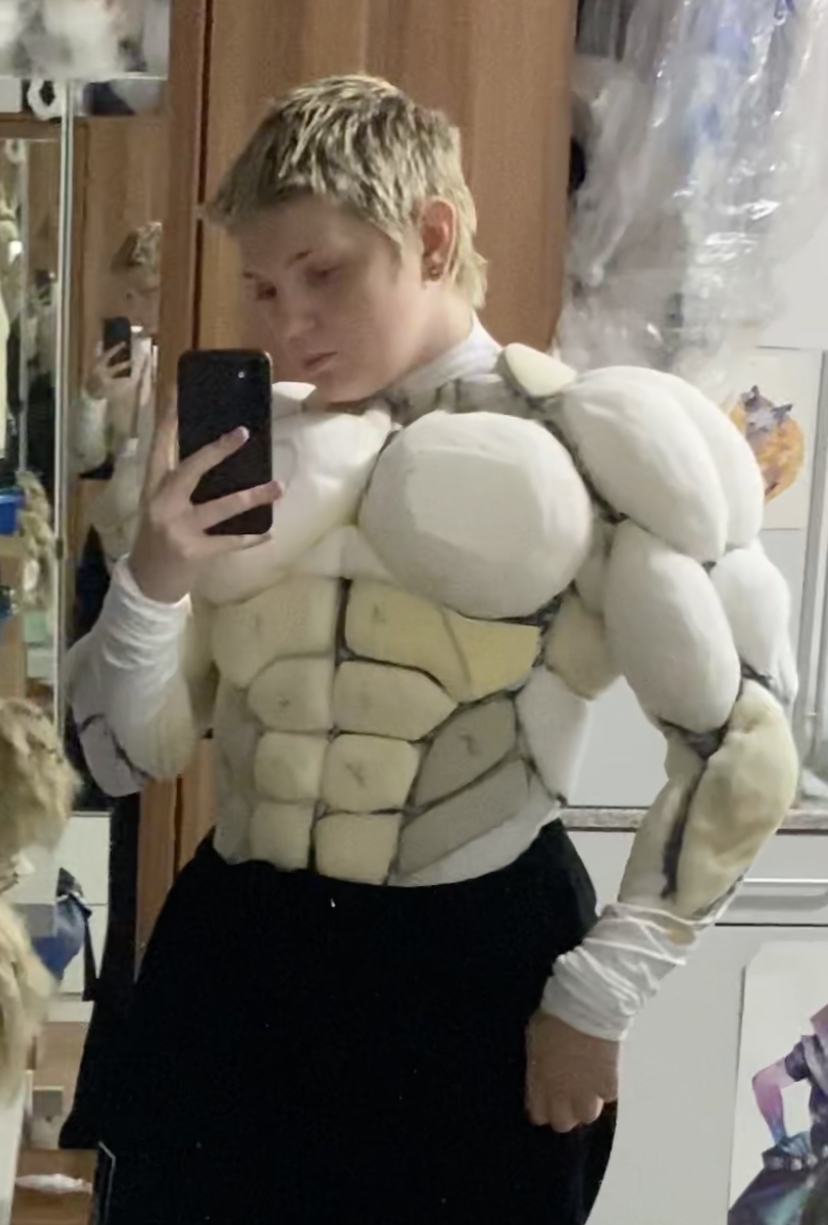
The slieshow on the right shows you the different steps of the muscle  suit. First you glue down your muscles on the undersuit. When this is finished, you apply a layer of fleece. It will help hiding ugly spots and gives a smooth skin. The easiest way to apply the fleece is this sprayglue. Please wear a respirator and keep your windows open while doing this! For the skin I choose a 4 way stretch fabric in a colors thats closest to my skintone i was able to find. I personally didnt care about visible lines on the shoulders, so I skinned the muscle suit in three different parts: body, left and right arm. I started to cover the chest are with spray glue and slowly applied the fabric. When you’re done with the musle suit skinning, the most fun part starts. As you can see on the pictures, the muscles don’t look crispy enough after just covering them with fabric. To achieve this look, you need to sew around every single muscle by hand. For a full muscle suit I usually work on this step for 2-3 days. It is a very long procress but its worth it!

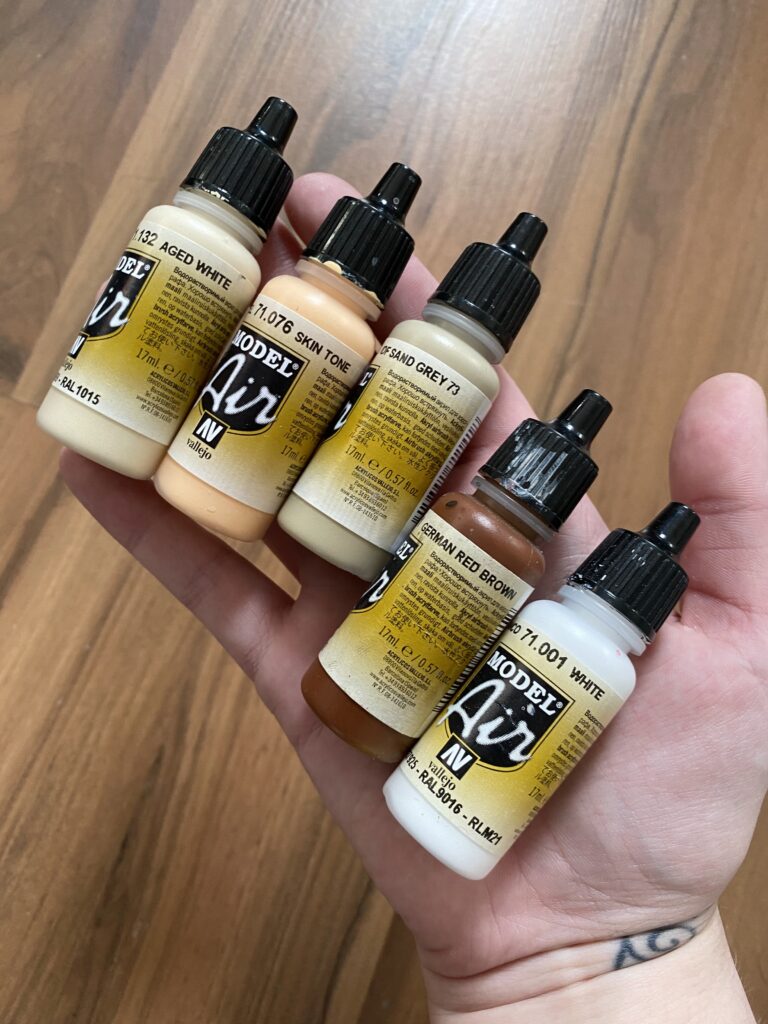
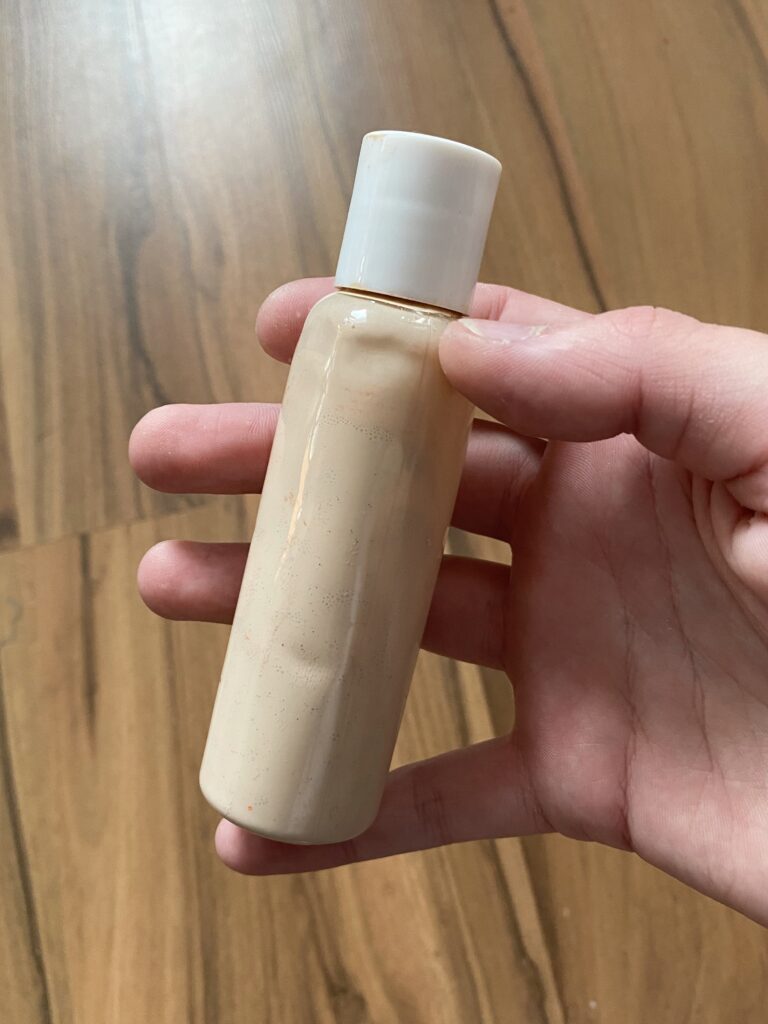
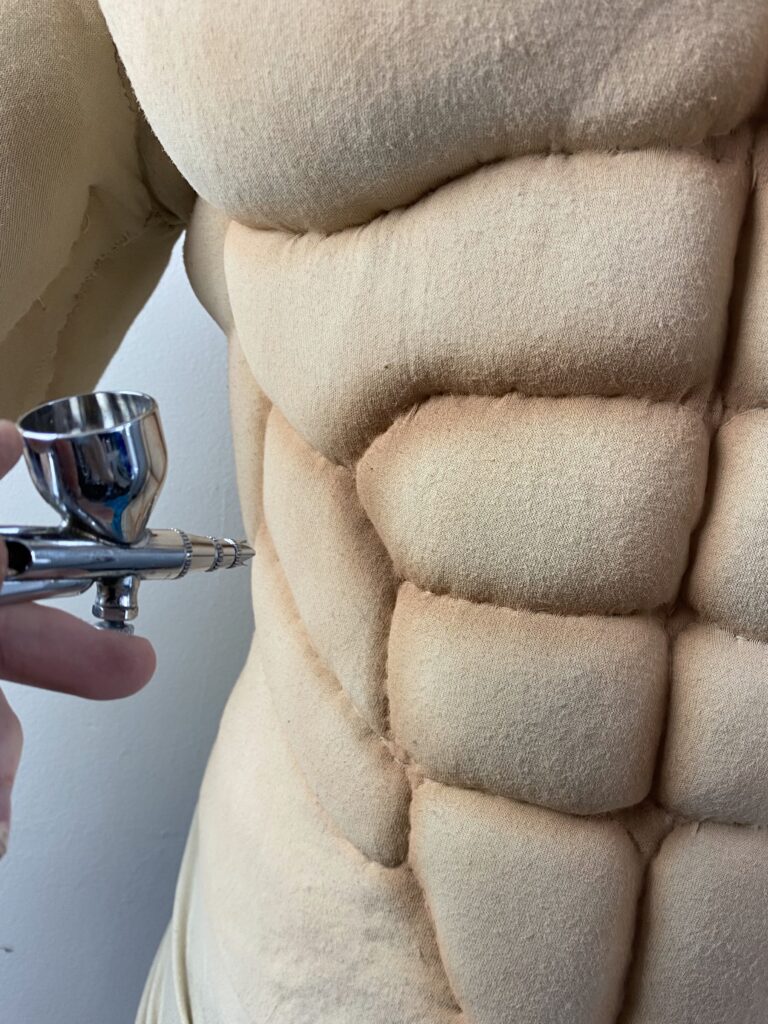
 Now we get to the interesting part: airbrushing the muscle suit. Start by matching your airbrush colors to your own skintone. Then try out the mixture on a fabric sample. When your satisfied, you can start to airbrush. Start with a lighter skintone, you will need the darker color for the details. 

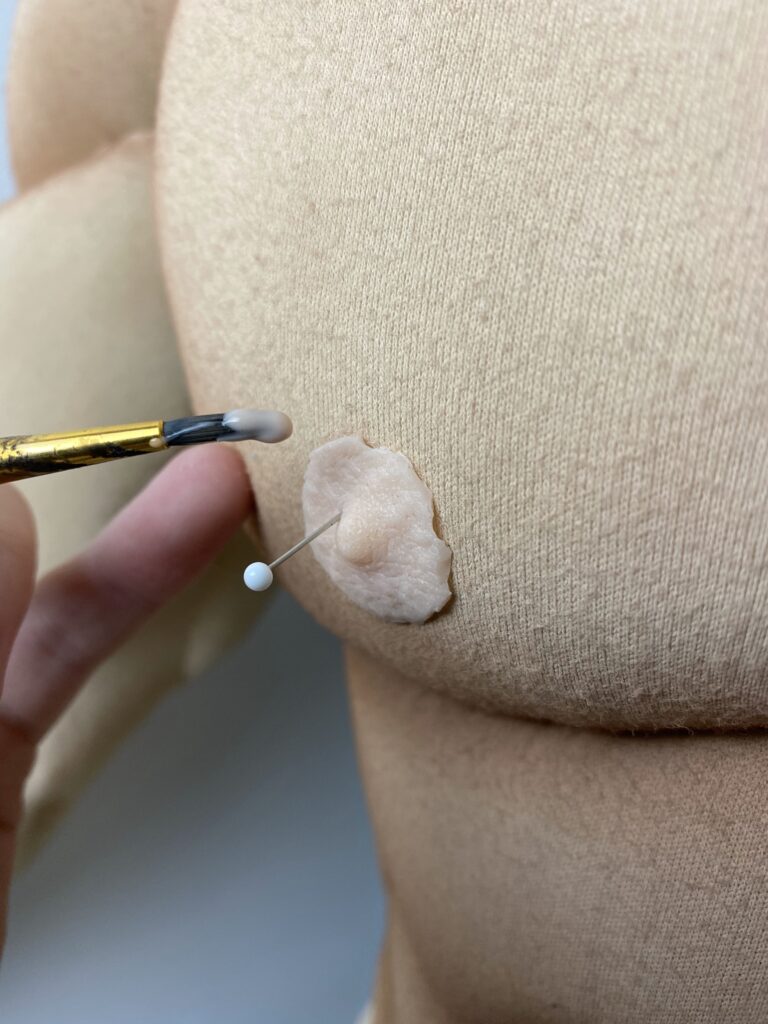
For the nipples, I simply molded Daniels nipples and casted them in silicone. I glues the on the muscle suit with more silicone and painted them with the airbrush. 

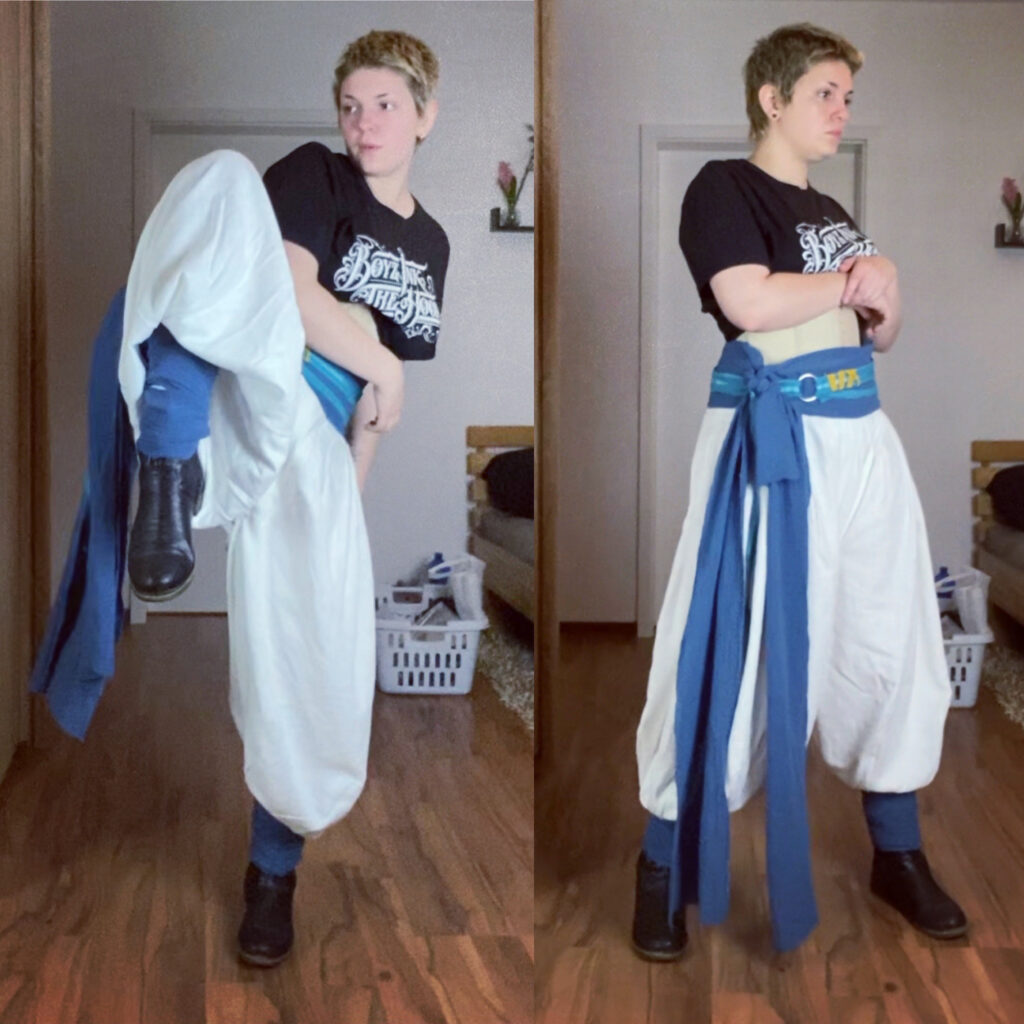
Now you only need to fix the zipper in the back, make a seam on the bottom and neck and add some pants to the suit so that the suit won’t slip upwards while wearing it!

After finishing the muscle suit, I worked to finish Gogetas clothes. Hes doesn’t wear a lot of fabrics, that is why I wanted to get creative with them. For the vest I thought of a formfitting pattern, that consists of different gray and black tones. The studs give a nice extra effect. The pattern was made directly on the bodysuit and the vest has some black inner linning to give it a little more stiffness. The patch was then sewn on the back. 

Dragon Ball pants are very baggy, so basically I only sewed 2 big tubes together! I made a full tutorial on how to do this here. For some extra details, I added a black stripes and black Kanji.

For the belt I took some musselin blue fabric and glued them together with spray glue until I had a nice looking belt. I finished it with some Velcro so I can put it on easily. I cut out some stripes for the hanging parts, knots and shoes wraps. Everything was airbrushed later. 

The costume was done, now I needed a wig. At first I tried to make the wig without foam support, but that was not a good idea. I already did a wig with foam a few years ago, so I used it again for this wig. The wig took me 6 days in total. After I finished the paper dummy, I made every indivdual spike with 3mm foam. After I was happy with the shape for my forehead and the spikes, I covered the whole form with one layer of teased hair and for the final touch ups, I added a layer of straight black hair. To get rid of the shiny hair texture, I airbrushed the whole wig with a matte black coat. 

I drew the eyebrow shape and added a wiglace on top. Then I glued on some pieces of my loose hair and cut out the final shape. Now I had some fancy eyebrows!